Bleeding Your Brakes: Why It's Critical and How to Do It Right
If your brake pedal feels spongy, soft, or sinks too low when you press it, there's a good chance you have air trapped in your brake system. That’s a serious safety issue—but one that can be fixed with a process called bleeding the brakes.
Why Bleed the Brakes?
Air in the brake lines is dangerous. Unlike brake fluid, air can be compressed—this means that when you step on the brake pedal, the pressure you apply gets absorbed by the air instead of being transferred to your brake calipers or cylinders. That’s what causes a soft or unresponsive pedal. Left unresolved, it can lead to brake failure.
How Bleeding Works
To bleed the brakes, you need to force brake fluid through the system fast enough to push out any air bubbles. Air always wants to rise—so without a strong flow, it’ll never move downward and out. This is why "gravity bleeding" alone isn’t effective. In some systems, you might even need a pressure bleeder that can move several gallons of fluid in under a minute.
Note: If your starting with a dry system, you’ll need bench bleed the master cylinder first, in a vice while it’s level. You can’t bench bleed a master on the vehicle. For more information on how to bench bleed a dry system please watch this video:
Step-by-Step Basics
1) Top Off the Reservoir
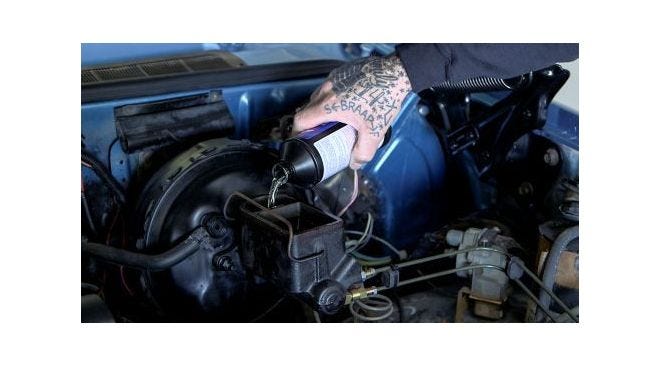
Start with fresh brake fluid and keep the master cylinder reservoir full. Don’t let it run dry or you’ll introduce new air into the system—and might have to bench bleed the master cylinder again.
2) Start with the Farthest Wheel
Begin bleeding at the caliper or wheel cylinder farthest from the master cylinder (usually the passenger-side rear), then work your way in.
3) Use Clear Hose & a Container
Attach a clear hose to the bleeder screw and place the other end in a container. This lets you see air bubbles and keeps your garage clean.
4) Teamwork is Key
Have an assistant press the brake pedal with moderate pressure. Open the bleeder screw only when the pedal is going down. Close it before the pedal comes up again. This ensures you’re only pushing fluid and air out—not sucking more air in.
5)Repeat Until Clear
Continue until no more air bubbles are seen in the fluid. Then move to the next wheel.
Pro Tips
- Keep checking the fluid level during the process—especially after 10-15 pumps on rear brakes and 7-12 on fronts.
- If the bleed screw isn’t at the highest point on the caliper, you may need to temporarily reposition it to get all the air out.
- Still spongy after bleeding all four corners? You might have an air bubble trapped in the master cylinder, to fix it, unbolt the master from the booster and tilt it nose-down. Then push fluid back into it by compressing caliper pistons or using drum brake mechanisms.
Final Checks
Once you’ve bled all the wheels, topped off the master cylinder, no more than ¾ full, and reinstalled the lid—test your brakes before driving. Pump the pedal to reset caliper pistons and make sure everything feels firm and responsive.
Does Gravity Bleeding Work?
Gravity bleeding is a method where brake fluid is allowed to slowly drip through the brake lines using only gravity. However, this technique is not effective at removing all the air from the system. Since air bubbles naturally rise, they won’t be forced downward and out without a strong, consistent flow of brake fluid—meaning gravity bleeding alone will leave air trapped in the lines.
Watch as Jason discusses the pros and cons of Gravity Bleeding Your Brakes:


